在 Windows 10 上使用 nRF52 开发板运行 AutoPTS
本教程介绍如何将 AutoPTS 客户端和服务器都设置在 Windows 10 上运行。我们仅使用带有 Ubuntu 的 WSL1 将 Zephyr 项目构建为 elf 文件,因为 Windows 上尚不支持 Zephyr SDK。本教程仅涵盖 nrf52840dk。
更新 Windows 和驱动
在以下位置更新 Windows:
Start -> Settings -> Update & Security -> Windows Update
按照硬件厂商的说明更新驱动。
安装 Python 3
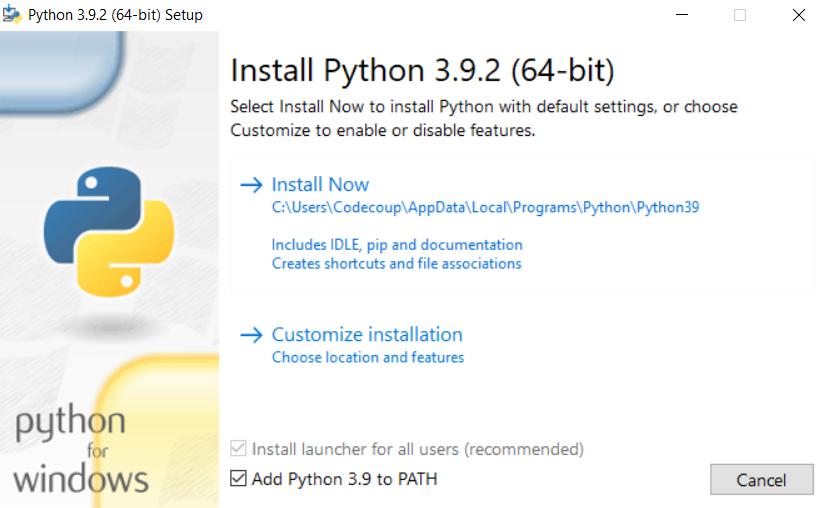
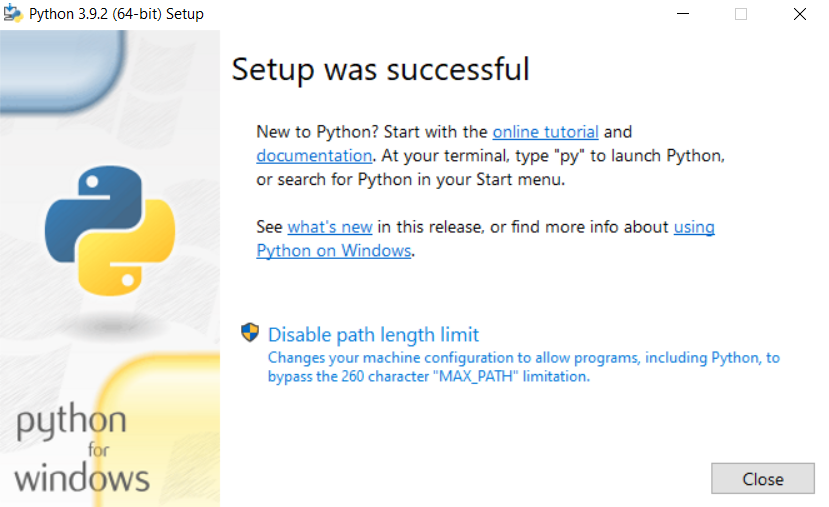
在 Windows 上下载并安装最新的 Python 3。安装过程已使用 3.8 及更高版本测试。让安装程序将 Python 安装目录添加到 PATH,并禁用路径长度限制。
安装 Git
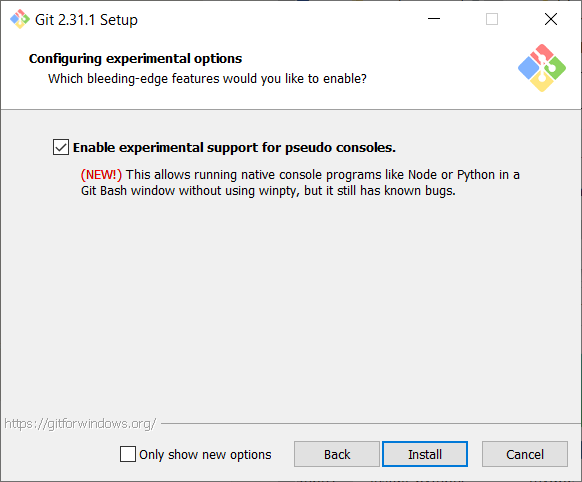
下载并安装 Git。在安装过程中启用选项:Enable experimental support for pseudo consoles。我们将使用 Git Bash 作为 Windows 终端。
安装 PTS 8
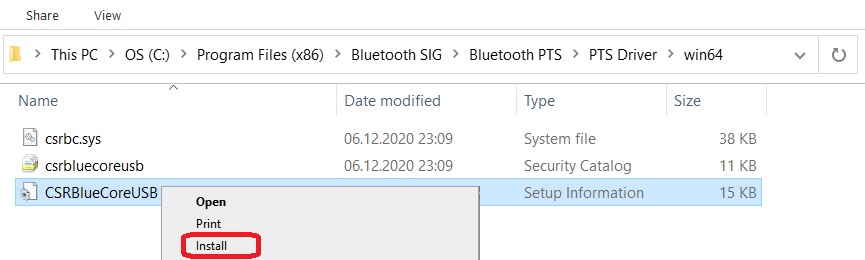
从 https://www.bluetooth.org 安装最新的 PTS。请记住从安装目录 “C:/Program Files (x86)/Bluetooth SIG/Bluetooth PTS/PTS Driver/win64/CSRBlueCoreUSB.inf” 安装驱动。
备注
从 PTS 8.0.1 开始,不再包含 Bluetooth Protocol Viewer。因此,要捕获 Bluetooth 事件,您需要单独下载它。
为 Windows 设置 Zephyr 项目
执行 入门指南 中的 Windows 设置。
安装 nrftools
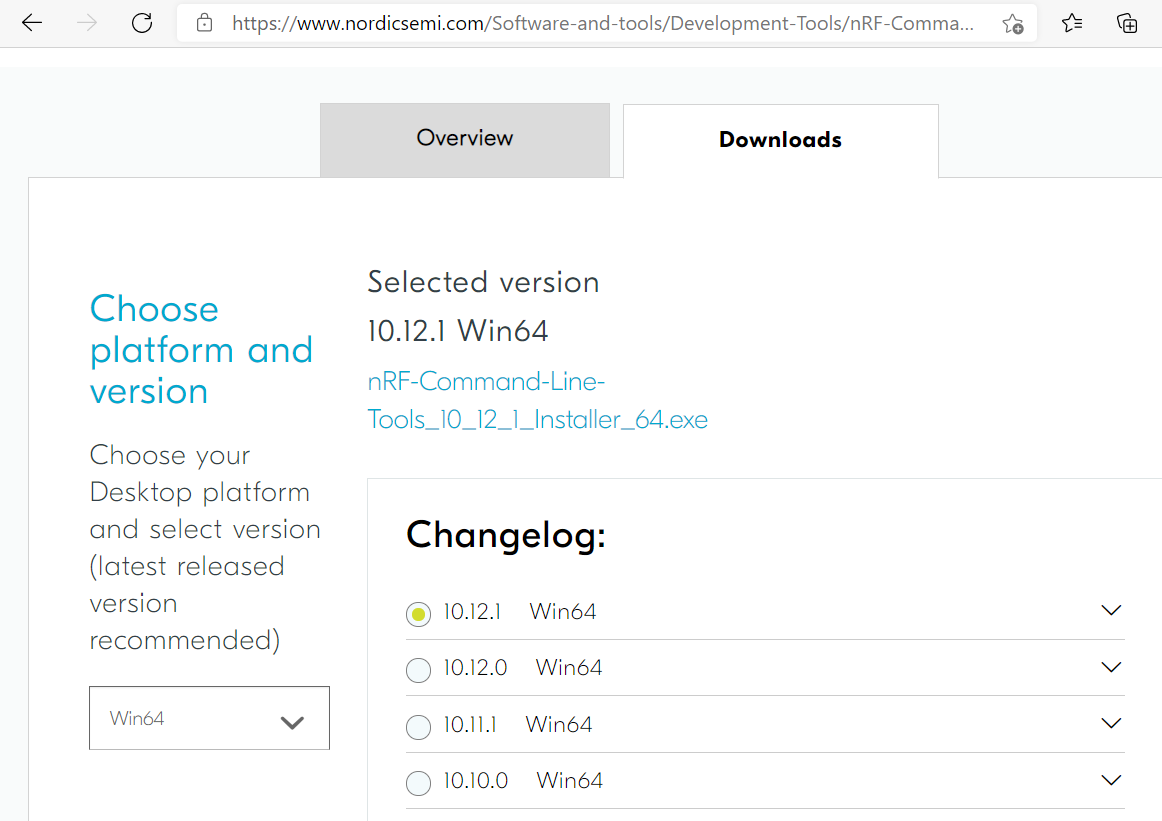
在 Windows 上,从站点 https://www.nordicsemi.com/Software-and-tools/Development-Tools/nRF-Command-Line-Tools/Download 下载最新的 nrftools(版本 >= 10.12.1),并运行默认安装。
连接设备
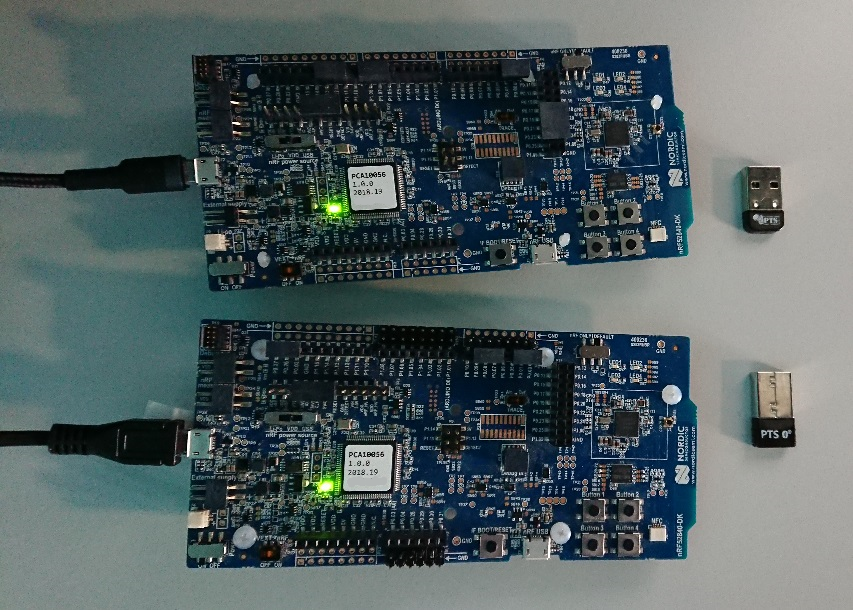
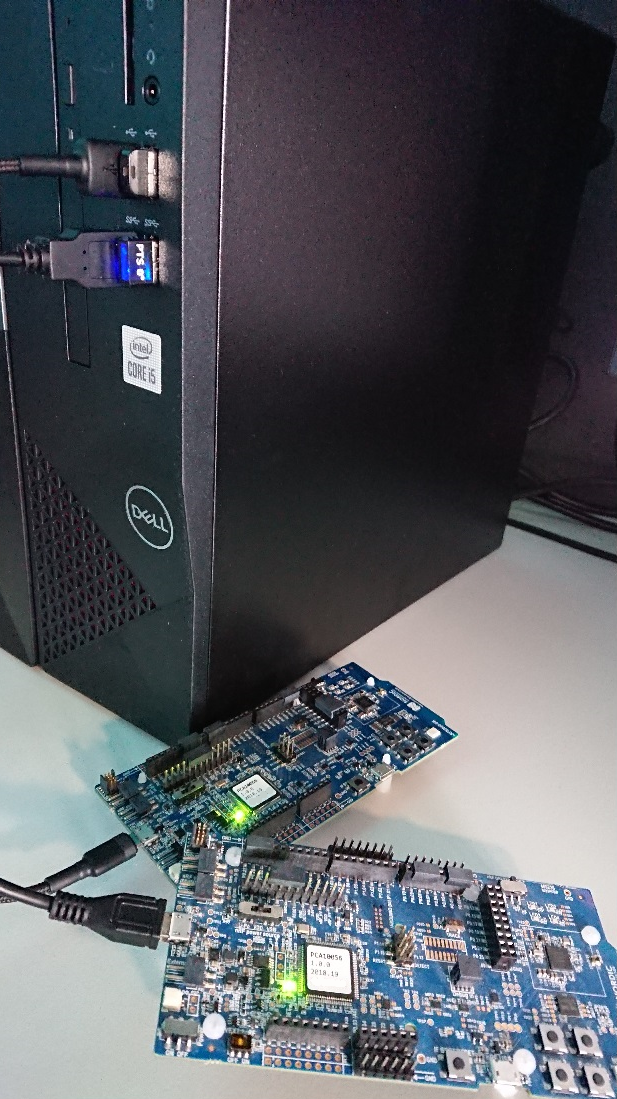
烧录开发板
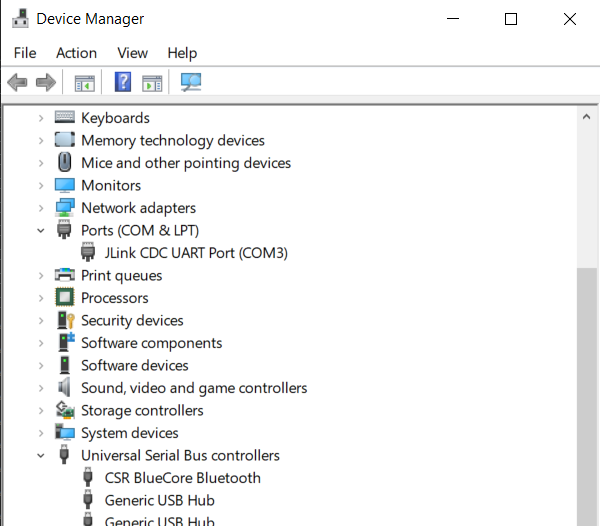
在设备管理器中找到 nRF 开发板的 COM 端口。在我的情况下是 COM3。
在 Git Bash 中,转到 zephyrproject
cd ~/zephyrproject
构建 auto-pts 测试器应用
west build -p auto -b nrf52840dk/nrf52840 zephyr/tests/bluetooth/tester/
您可以使用以下命令显示烧录选项:
west flash --help
并使用之前构建的 elf 文件烧录开发板:
west flash --no-rebuild --board-dir /dev/ttyS2 --elf-file ~/zephyrproject/build/zephyr/zephyr.elf
请注意,west 不接受 COM 端口,因此使用 /dev/ttyS2 作为 COM3 的对应项,使用 /dev/ttyS2 作为 COM3 的对应项,等等。(/dev/ttyS + 递减后的 COM 编号)。
设置 auto-pts 项目
在 Git Bash 中,克隆项目仓库:
git clone https://github.com/auto-pts/auto-pts.git
进入项目文件夹:
cd auto-pts
安装所需的 Python 模块:
pip3 install --user wheel
pip3 install --user -r autoptsserver_requirements.txt
pip3 install --user -r autoptsclient_requirements.txt
安装 socat.exe
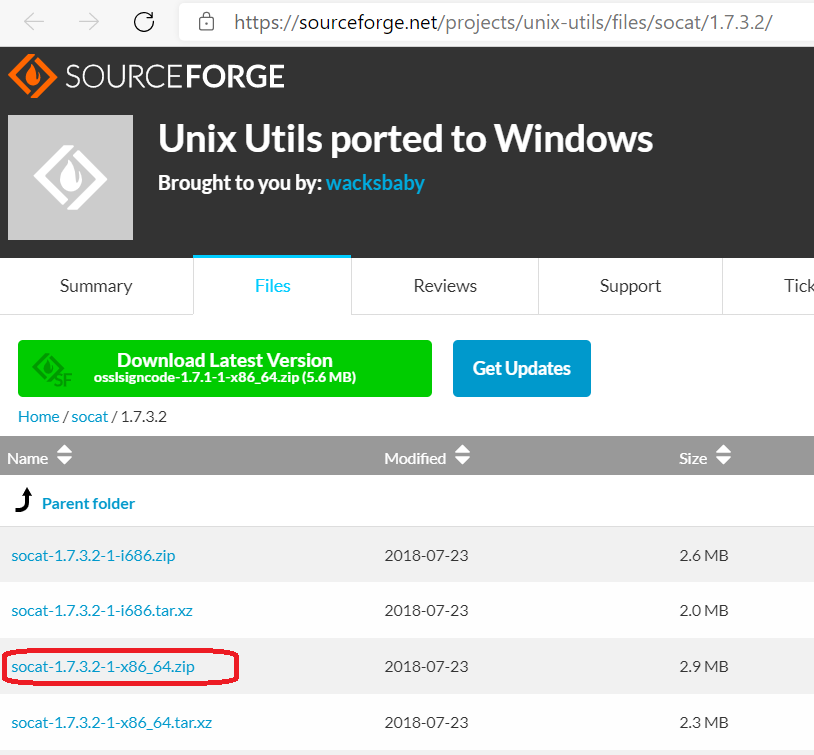
从 https://sourceforge.net/projects/unix-utils/files/socat/1.7.3.2/ 下载并解压 socat.exe 到 ~/socat-1.7.3.2-1-x86_64/ 文件夹。
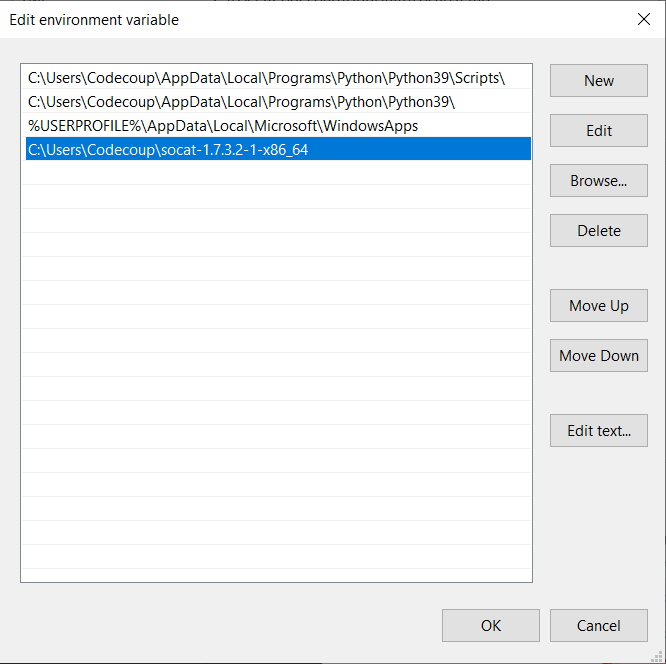
将 socat.exe 所在目录的路径添加到 PATH:
运行 AutoPTS
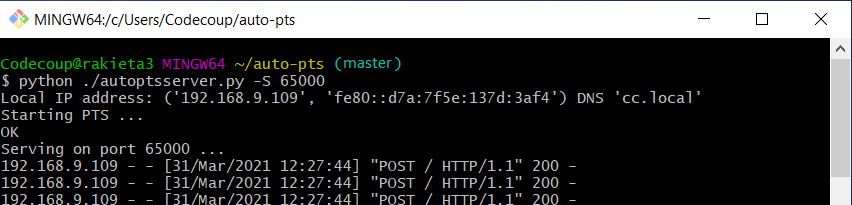
服务器和客户端默认将在 localhost 地址上运行。运行服务器:
python ./autoptsserver.py -S 65000
备注
如果在全新安装后出现错误 “ImportError: No module named pywintypes”,请卸载并安装 pywin32 模块:
pip install --upgrade --force-reinstall pywin32
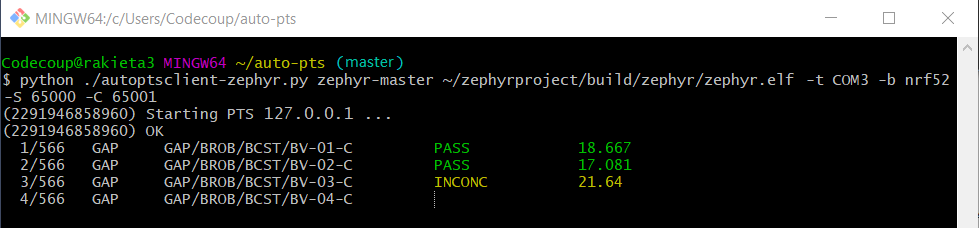
运行客户端:
python ./autoptsclient-zephyr.py zephyr-master ~/zephyrproject/build/zephyr/zephyr.elf -t COM3 -b nrf52 -S 65000 -C 65001
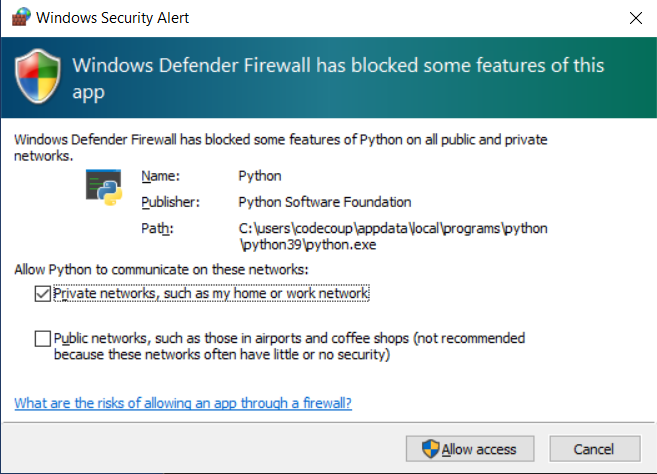
首次运行时,当 Windows 询问时,允许通过防火墙连接:
故障排查
“在运行实际硬件测试模式时,我只遇到 BTP TIMEOUT。”
这是 auto-pts 客户端与开发板之间连接的问题。可能的原因有很多。请尝试:
使用以下命令清理您的 auto-pts 和 Zephyr 仓库:
警告
此命令将强制不可逆地删除仓库中所有未提交的文件。
git clean -fdx
然后再次构建并烧录测试器 elf。
如果您在虚拟机上设置了 Windows,请检查来宾扩展是否正确安装,或在虚拟机设置中将 USB 兼容模式更改为 USB 2.0。
检查防火墙是否未阻止 python.exe 或 socat.exe。
检查开发板在重启后是否发送 ready 事件(十六进制 00 00 80 ff 00 00)。使用例如 PuTTy 以正确的 COM 和波特率打开与开发板的串行连接。开发板复位后,您应该在控制台中看到一些字符串。
检查 socat.exe 是否创建了到开发板的隧道。在控制台中运行
socat.exe -x -v tcp-listen:65123 /dev/ttyS2,raw,b115200
其中 /dev/ttyS2 是 COM3 的对应项。打开 PuTTY,将连接类型设置为 Raw,IP 设置为 127.0.0.1,端口设置为 65123。开发板复位后,您应该在控制台中看到一些字符串。